MTNMAMA

MTNMAMA
The original MTNMAMA

Wednesday, June 27, 2012

I wear My Sunglasses at Night.....

That is the message that Miss Ella sent me over the weekend as she was moving from Chicago to Minneapolis, MN. Further North!!!! But just for a year while her daddy completes his Interventional Radiology Fellowship. Then hopefully they will consider moving back to Oklahoma near Nana and Papa.
Speaking of her daddy.....Happy Birthday Jon!!! It is his 31st birthday today. Such a pup!!

I have been mostly at the hospital again this week as we had to admit Jeff for a sinus infection this time. He is platelet and transfusion dependent and an infection....any infection could be deadly to him. So back to the hospital we went. He has been here since Sunday. We just finished "sinus washings", nebs with steroids and antibiotics, and a bath. He is sitting up in a chair looking pretty good.


Work In Progress

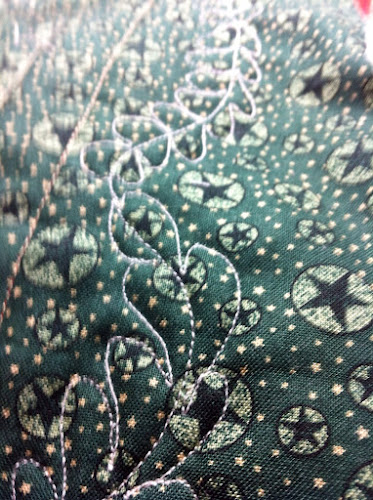
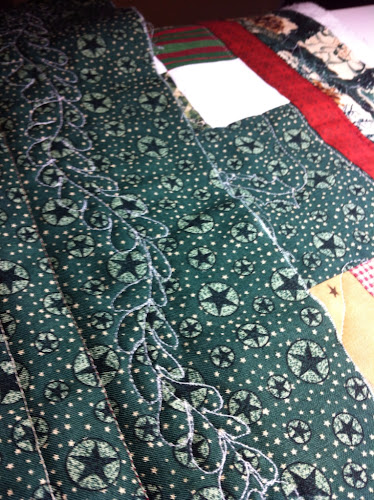
I was working with "Miss Lizzie" over the weekend and starting to practice on free motion feathers. Here are the results on a border of a small table topper I completed.
I seem to be getting the hang of it. I just need more time to practice, practice, practice.

It's a lot of fun once you get the rhythm going. I had two birthdays on June 26th so each one got a project "hot off the press". I love finishing things that I have in my drawers. Most of these I made while in Dallas in Dec and Jan during the original transplant. That's why they are Christmas fabrics. But in my world Christmas is year round....365 days a year!!! Love it!

Last week I had a craving for my "Apple-Walnut Tuna Salad" so I made a batch. It is sooooooo very good!!
Easy to make as follow:

Apple-Walnut Tuna Salad

1 large pouch of Star Kist Tuna packed in water

1 cup celery large dice

6 hard boiled eggs chopped finely

1/2 cup sweet pickle relish

2 medium gala apples large dice

1 cup coarsely chopped walnuts

1/2 cup light mayo

1/2 tsp salt

1/4 tsp pepper

Mix all ingredients in large mixing bowl with a wooden spoon by hand.

Serve by itself or over salad greens.


Hope you enjoy!!!
Nana can I have some of that good stuff PLEASE????

Happy Trails,

Mtn Mama

Sunday, June 24, 2012

Dream Builders make a Quilt


Last week I was priviledged enough to be a small part of a Rhythm and Arts Camp that is sponsored by my church. It is held in a Tulsa Public School where we partner throughout the year with projects such as "Lunch Buddies", tutoring, special class projects and "Dream Builders". The camp runs from 9 a.m. till 12:30 p.m. for five days ending in a Grand Finale Program for the parents on Friday. The students learn drumming skills, singing as a choir, and this year they did "fabric" arts which included making quilt blocks.

We started our camp by asking the students to pictures themselves in their "Dream" job in the future. Then we transferred these "dream images" to paper drawings.

We then helped the students to transfer their drawings to a 8 1/2 inched square of fabric. They used Crayola Fabric Markers which worked very well. The colors were bright. Heat setting the blocks was done in 20 minutes in the dryer!! Yeah!! Much better then heat pressing 90 blocks for 1-2 minutes a piece.
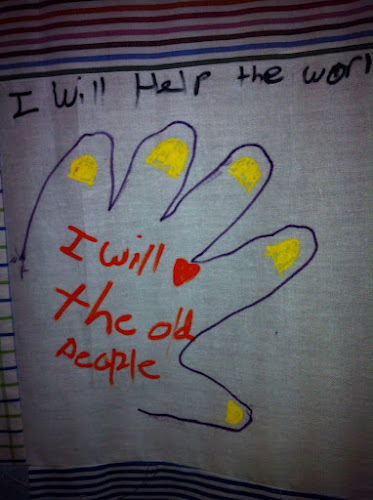
We did two sets of blocks. The second set were based on the story of Rachel Scott. We told modified version of her life story highlight the set of hands that she drew on the back of a piece of furniture in her room which said....
"These are the hands of Rachel Joy Scott which will touch the lives of millions."
We asked them to draw their hands and picture how their hands will change the world in a positive way.
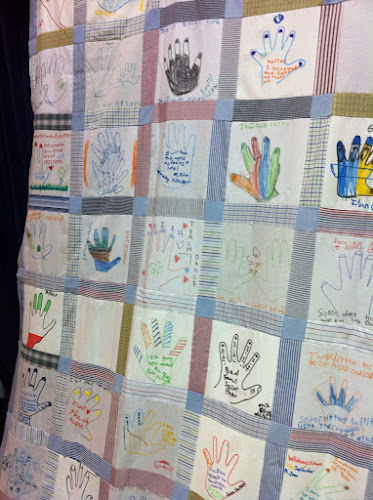
These are some of the amazing results:


On Thursday afternoon after collecting all the blocks I met with four other ladies in one of my stitch groups and we began.......
Cutting Sashing from old men's shirts that I had "deboned"
Cutting all the cornerstones from chambray shirts
One of the "more artistic" ladies laid the blocks out in the middle of the floor until she had "just" the right order
Two of us were sewing at all times.
We started at 2:30 p.m. and had the top completed at 8:30 p.m.
It has 90 blocks that are 8 inches finished put together to be a King Size Quilt.
I brought it Friday to the assembly for the parents at which time we unveiled the quilt top to a roar of applause.


On Monday I met at the church with my friend, Tami, (the artistic one), and we laid out the quilt and put in yarn ties in the the cornerstone blocks. I took it home and bound the quilt in a solid medium blue binding. The quilt was sent back to the church and today it was prayed over by the congregation. After the service it was taken to the Welcome Center where everyone was given an opportunity to "tie" a knot in the quilt and say a special prayer at that time. WOW!!!! How Awesome was that!!!
I didn't get to attend the service today because this morning we had to readmitted my hubby to the hospital for more antibiotics, blood and platelets. Things are not going well here....so pray for a miracle to happen for us please!!! In the meantime the quilt will be given back to the students of Mark Twain Elementary and hung in their gymnasium for all to see!!
Remember I said each child made two blocks......I have 90 more blocks that need to be put together before the school year begins. Another miracle...with the help of my friends!!

Happy Trails,

Mtn Mama
 

Monday, June 18, 2012

Homemade Pizza on the Grill

Last week my son-in-law flew into Tulsa for a job interview. Let's hope he gets a job here and Miss Ella can live near Nana. It wouldn't be for a year though since he is just starting an Interventional Radiology Fellowship in Minneapolis, MN on July 1 which will last for 1 year. Anyway he loves my pizza on the grill so that's what we did when he was here.

Pizza on the Grill


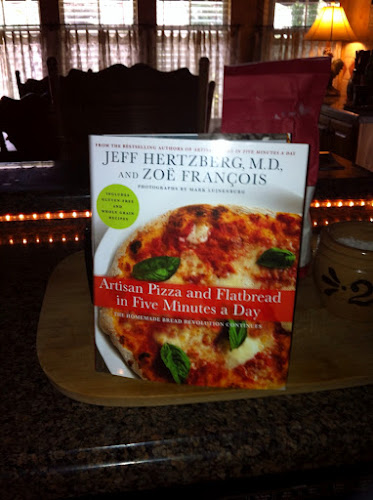
I make my pizza dough in the "Bucket" method the same way I do many of my artisan breads. This book from Jeff Hertzberger and Zoe Francois is the basis for this pizza dough. From there I get creative....you'll see!!


Ingredients for Pizza Dough:

Unbleached All Purpose Flour

Salt

Yeast

Water

Recipe:
In large bucket mix:
3 1/2 cups warm (100-105 degrees) water
1 1/2 Tablespoons Yeast
1 - 1 1/2 Tablespoons Salt ( varies with your taste for saltiness)

Stir together Liquids until dissolved and then add
6 1/2 cups of Unbleached A-P Flour

Dough should be wet looking, sticky. If you have trouble incorporating the flour with a wooden spoon then wet your hands and complete the process.
Place the dough on the counter to rise for at least 2 hours so that it doubles in size.
Wala!!! 2 hours later we have doubled in size!! You can use the dough now or put it in the refrigerator and use for up to 10 days.

Pizza Making Day:

Remove a grapefruit size ball of dough from the bucket. Place on floured surface and begin to stretch the dough to shape your pizza.


Using your finger stretch the dough to desired size and thickness or thinness. You can use a rolling pin if you like....in Italy it is forbidden by law when making true pizza. It's true you can read it in the book!!
Place your pizza dough on a pizza peel that has been sprinkled with cornmeal to prevent sticking. Make sure it slides around on the peel. Heal the grill to SMOKIN Hot.
Here is how I do pizza on the grill:
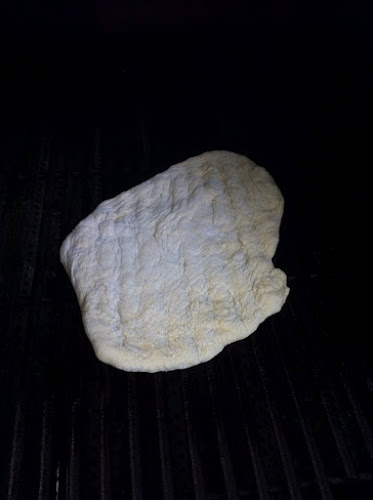
I place the dough on directly on the grate of my gas grill. Watching it very carefully to get good grill marks

Once it has cooked on one side I remove it with the peel and flip it over so that I am putting the toppings on the cooked side.
Now build your pizza to your taste!
I grilled some lemon-rosemary chicken tenders to slice and put on our pizza.
The sky is the limit!! Be creative!! Use what is fresh and in season!! Try new things!

On this pizza I used :
Red sauce I made from crushed tomatoes, garlic, and basil
Fresh Mushrooms sliced
Chicken Tenders grilled and sliced
Grated Mozzerella and parmesean

Back to the grill!! This time I put the pizza on a preheated stone that I have on the other side of the grill.

Cook watching very closely on a very hot stone for several minutes until bubbly and the cheese is melted and oozy!!
Getting there!!


Done and delicious!!

Ham, chicken, red sauce, and Mozzarella cheese. Pizza you can really sink your teeth into....but remember it it HOT!!

Be creative and enjoy the process as much as you do eating the final product!!
This is great for a party. Let everyone make their own pizza and grill it with a little instruction from YOU!!
If you have any questions or comments please leave them below. I love hearing from you and learning all the ways you are creative with these recipes!!

Happy Trails,

Mtn Mama


Friday, June 15, 2012

Soft Italian Bread

Soft Italian Bread


First I will apologize to all the "foodies" out there who follow me for great recipes and ideas. There hasn't been much cooking at our house for several weeks because of Jeff's poor health, hospital stays, and life in general. Sorry I haven't been able to share more with you but things WILL get better and I WILL be back sharing my favorite summertime specialties with you as soon as I can.

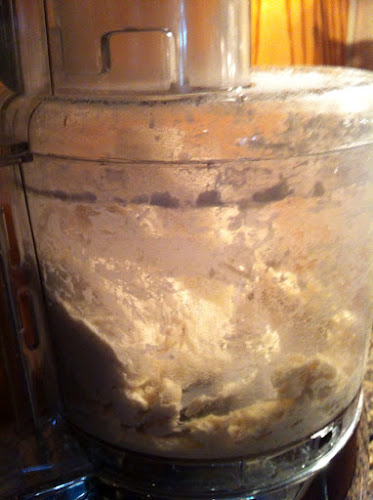
Today however I want to share the easiest, best, soft Italian bread you will every make or eat. It is made with the food processor. You can start this bread two hours before dinner and have hot, soft Italian bread on your table with your meal.


Now we cook:

Shopping List:

2 1/4 - 2 3/4 cup all purpose flour

2 tsp sugar

1 tsp salf

1 pkg yeast (1 TBSP)

1 1/2 tsp butter

7/8 cup warm waterStart with making a "sponge". Not Hard... just a fancy name for dissolving yeast, sugar, salt and butter into your warm water (105-110), The water can come from the tap. Warm on your fingers....warmer that baby's bottle but not hot. Remember HOT water kills yeast and your bread will not rise. Not a good thing. If you water is too cold your bread will take much longer to rise so just like Goldilocks....the water must be just right. Use a thermometer if you need to until you get the feel for it!! Let the sponge sit for10-15 minutes until the surface is bubbly (yeast growing and producing gas).
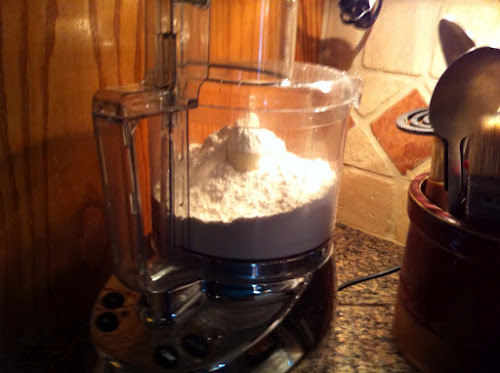
 

Meanwhile put 2 cups of AP (all purpose) flour in the bowl of your food processor. Pulse for 4 on/off bursts.

Add the liquid sponge to the bowl. Process for 4 more bursts on/off

Add more flour a little at a time pulsing in between until you have a soft dough.

Process for 45 seconds.

Remove dough from the food processor bowl.

Let rest on a floured surface for 15 minutes covered.

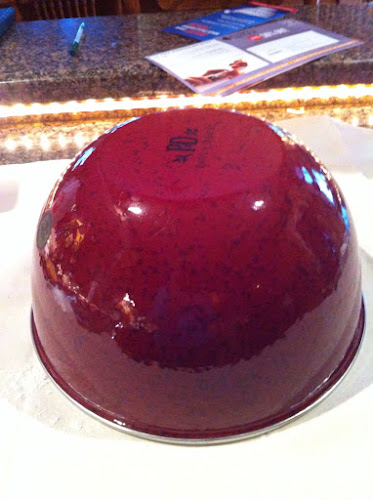
I use an inverted mixing bowl to cover the dough ball.
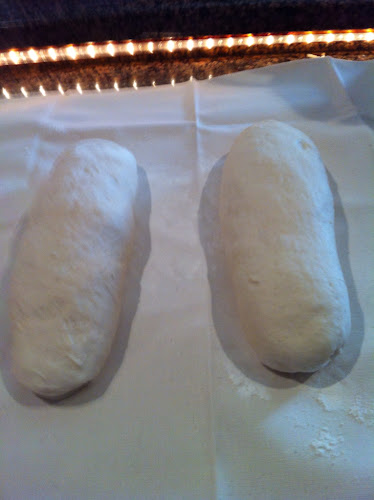
After rest roll the dough out to a 15x12 rectangle and roll up along the long side.
Place on greased cookie sheet that has been sprinkled with cornmeal. I used my French Bread cradles from Williams Sonoma. They help the loaves to keep their shape when rising and baking and don't spread out as much.

Let rise till doubled about 1 hour.
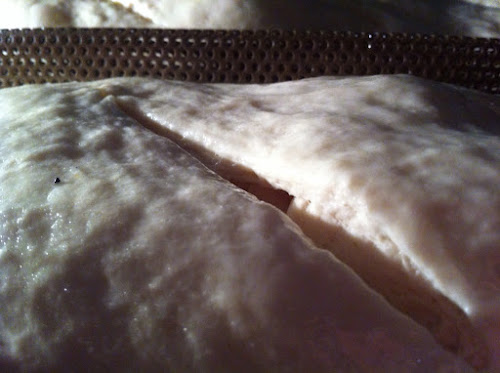
Grease top with olive oil and slash before baking.

Preheat oven to 350 degrees.
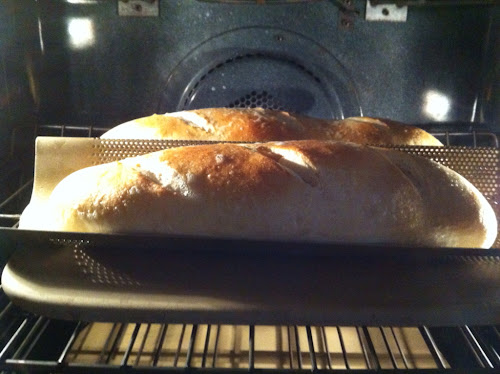
Place in preheated oven and bake for 20 minutes

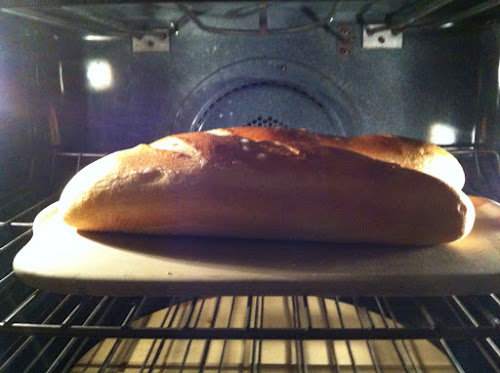
If using a French bread or baguette pan remove loaf after 15 minutes of baking and place on baking stone to crisp the bottom of the loaf.

Bake for 5 minutes more till crust is browned and crisp.

Remove to cooling rack. Slice on diagonal and ENJOY!!! This bread is great with butter and a smear of roasted garlic!! YUM! YUM!! Good by itself or with a pasta meal!!! Great grilled or toasted for bruchetta!!

Happy Trails,

Mtn Mama