MTNMAMA

MTNMAMA
The original MTNMAMA

Saturday, September 28, 2013

Rainbows, Raindrops, and Racing for a Cure!!


Susan G. Komen Race for the Cure

Saturday was Tulsa's Race for the Cure.  It has been several years since I have participated in this race.  This year I was walking with my daughter, Jenny, and pushing Miss Ella in her chariot.  Rain was in the forecast but it didn't dampen the spirits of those who attended.  On the way downtown we saw a beautiful Rainbow which helped to remind us of God's promise and gives hope to those of us who have lost loved ones to this horrible disease called cancer.  I was talking with a friend while waiting for the race to start and he gave me a hug and said , "YOU are a survivor, too!!".  I have thought a lot about that since this morning and indeed I am a survivor.  Even though I have not had cancer I have survived the devastating loss of my spouse due to cancer so I think that pretty much qualifies me as a survivor of sorts too.  For the first year I did ....just survive.  Now starting year 2 without Jeffrey I am learning how to go from being a "we" to being "me" again.  It is never easy but with God's grace, guidance and everlasting arms to hold me when I fall I find that I am smiling more again,  laughing at life and my forgetfulness and looking forward to my second grandchild in the spring, not to mention having a ball with Miss Ella everyday.   So to all those who have had cancer or have survived a cancer loss I applaud your courage and strength and say....keep on fighting, living and in the famous words of Nemo....just keep on swimming!!  Race time found us in a downpour but we just kept on walking.  There wasn't anything at all dry on any of us as we crawled into the car at the end of the race.  We will surely remember this day for many years to come.


SUNDAY STASH REPORT - WEEK 39

TOTAL YARDS USED THIS WEEK:  0 YARDS

ADDED THIS WEEK:  0 YARDS

USED YEAR TO DATE: 79 3/4 YARDS

ADDED YEAR TO DATE: 28 3/4 YARDS

NET STASH DECREASE FOR 2013: 51  YARDS


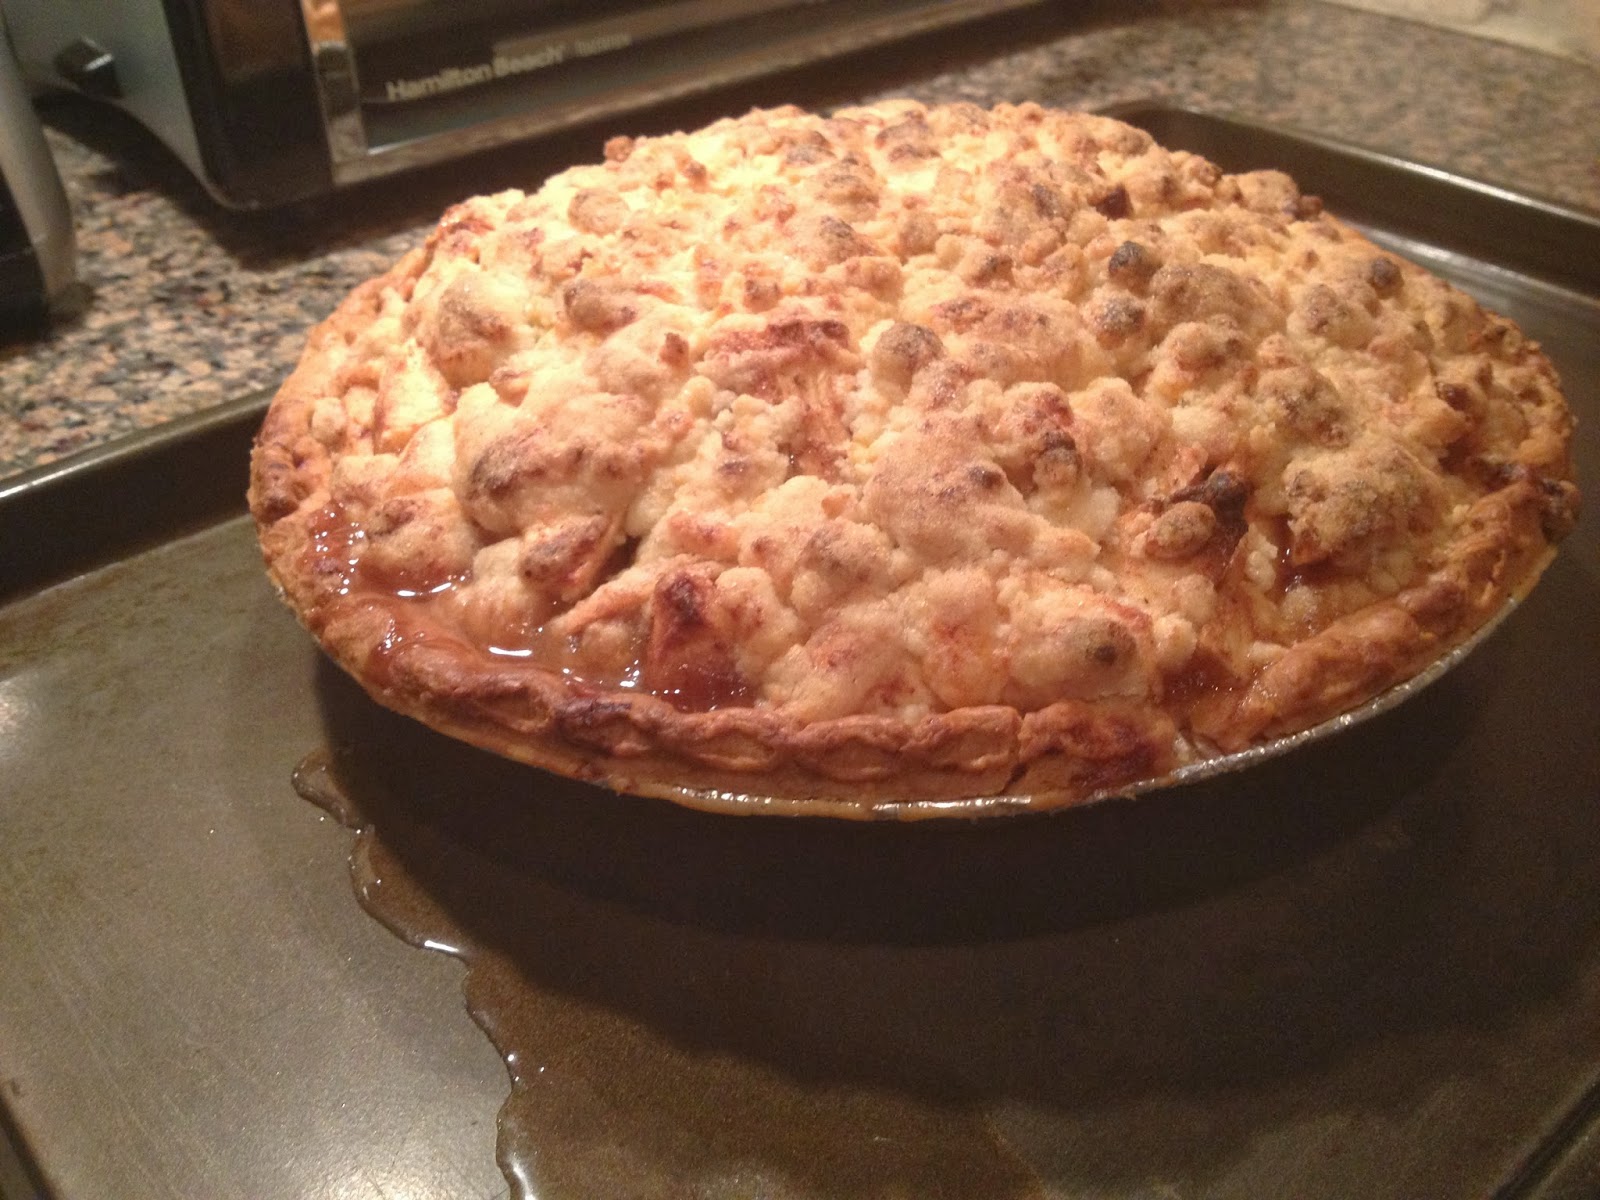
Not much on the sewing front this week.  I cleaned my house from top to bottom and put out my fall decorations.  I also worked in my closet changing seasonal clothes and getting rid of many things that I haven't worn in a while.  I always feel so "good" after a seasonal cleaning freenzy!!  I did sew some on my Log Cabin Stars quilt.  This week I WILL finish it.  The auction is Oct 10th so it has to be done soon.


After the race we headed home in the pouring rain.  It continued for most of the day.  It was stormy and the temperatures were in the 60's behind the cold front that caused the weather changes.
 After a hot shower I made a nice pot of chili which seemed to fit the bill for the "First cool day of Autumn" here in T-Town.


Chili

1 pound ground turkey
1 medium onion, diced
1 clove of garlic, minced
1 can ( 14 1/2 ounces) diced tomatoes
1 can (8 ounces) tomato sauce
1 TBSP Chili powder
3/4 tsp ground cumin
1/4 tsp salt 
1/4 tsp pepper
1 can (15 or 16 ounces) kidney beans, drained and rinsed

1.  Cook turkey, onion, and garlic in 3 quart saucepan over medium heat 8 - 10 minutes until beef is brown; drain.
2.  Stir in remaining ingredients except beans.  Heat to boiling, reduce heat.  Cover and simmer 1 hour, stirring occasionally.
3.  Stir in Beans. Heat to boiling, reduce heat.  Simmer uncovered about 10 minutes.  Stir occasionally, until desired thickness.
This chili just gets better every time you reheat it.  My mom always started fall with a big pot of chili on the first cool Saturday in October.  Each bite of this wonderful stew brings back such great memories of my "growing up" years.  It is defiantly a treasured recipe in my kitchen.  

Saturday afternoon consisted of football and of course I would be remiss if I didn't mention the WVU-OSU football game.  WOW!!!  WVU really pulled out an upset.  My daughter, Kristy, went to medical school at OSU but her daddy and I are WEST VIRGINIANS.....so I was proud of the Mountaineers and just hope they don't burn down Morgantown tonight in celebration!!  Have you every heard of the famous "Mountaineer Couch Burning Ritual?????"  Happens every time they have a BIG win.....like today!!

Happy Trails,

Mtn Mama

Thursday, September 26, 2013

Salted Caramel Thumbelina Cookies

Salted Caramel Thumbprint Cookies

Today I will give the recipe for these amazing cookies as I had promised earlier in the week.  I made a batch of these for my retreat last weekend and there were NONE left.  On to the recipe..... 

First I start with a basic thumbprint recipe that was given to me in 1983 after the birth of my first child.  I had her by C-Section and was in the hospital for several days.  I was nursing her and it seemed like I was ALWAYS hungry!!!  Another intern's wife brought me these cookies!!  Heavenly!!!  Her mother was French and this was her recipe.  I remember eating these straight from the box in the middle of the night.  Good memories!!  I treasure this recipe so when I found a recipe for Salted Caramel Thumbprint cookies I used my base recipe and tweaked the filling to come up with a winner!!

Thumbelina Cookie Recipe 

Preheat oven to 350 degrees.

Ingredients:
1/2 c butter, room temperature
1/4 c sugar
1 egg yolk, well beaten
1 tsp almond
1 c flour
1/2 tsp salt
1 egg white, unbeaten
1 c crushed walnuts
Homemade caramel

Directions:
1.  Cream butter and sugar together until light yellow in color.
2.  Beat in egg yolk and almond flavoring.
3.  Sift flour and salt together.  Mix into wet mixture.
4.  Shape into 1 inch balls.  You should get about 3 dozen.
5.  Dip balls into egg white and then roll in walnuts.
6.  Place on ungreased cookie sheet. Dent center of cookie with thumb.

7.  Bake 5 minutes.
8.  Remove from oven, dent cookie with thumb again.
9.  Fill the dent with 1/2 tsp of caramel.  ( You can find the recipe 
for Homemade Caramel here.)

10.  Bake 12 - 15 additional minutes.  Be careful not to overfill the centers or the cookies will leak.  A little leakage happens no matter how careful you are....it's OK!!


11.  Remove cookies to racks to cool completely before serving.  The caramel is VERY hot at this point.


Salted Caramel Thumbprint Cookies

(Recipe to copy and paste for printing)

Preheat oven to 350 degrees.

Ingredients:
1/2 c butter, room temperature
1/4 c sugar
1 egg yolk, well beaten
1 tsp almond
1 c flour
1/2 tsp salt
1 egg white, unbeaten
1 c crushed walnuts
Homemade caramel

Directions:
1.  Cream butter and sugar together until light yellow in color.
2.  Beat in egg yolk and almond flavoring.
3.  Sift flour and salt together.  Mix into wet mixture.
4.  Shape into 1 inch balls.  You should get about 3 dozen.
5.  Dip balls into egg white and then roll in walnuts.
6.  Place on ungreased cookie sheet. Dent center of cookie with thumb.
7.  Bake 5 minutes.
8.  Remove from oven, dent cookie with thumb again.
9.  Fill the dent with 1/2 tsp of caramel.  ( You can find the recipe 
for Homemade Caramel here.)
10.  Bake 12 - 15 additional minutes.  Be careful not to overfill the centers or the cookies will leak.  A little leakage happens no matter how careful you are....it's OK!!
11.  Remove cookies to racks to cool completely before serving.  The caramel is VERY hot at this point.


Hope you enjoy these great cookies as much as my friends did!!
Also don't you love the name used on the basic recipe....Thumbelina Cookies.....makes me think of fairies and magical places!!!  AHHHHHH....life is GOOD!!


Speaking of cookies....I picked up the 2013 Taste of Home Christmas Cookie book at Sam's today.

It's never too early to plan for Holiday cookie baking at the Smith House!! 


Happy Trails,

Mtn Mama

Wednesday, September 25, 2013

Work in Progress Wednesday


Work in Progress Wednesday

It has been a while since I put up any of my quilting projects...probably because I have been doing a lot of embroidering and sewing projects not just quilting.  This week I am determined to finish my Log Cabin Hidden Stars quilt.  I have donated it to the local Safe Kids Coalition for their 20th anniversary silent auction on October 10th so I had better get to it!!


The top two rows sewn together.  Blocks for the remaining two rows are laid out.  Only two left to complete before I can sew them together.


Sunday and Monday I made Miss Ella a dress.  It is too big for now but I am sure she will grow into it soon.  I love the pinafore that ties on the sides.  


Can't wait to see it on her!!  She and her mommy are pretty excited about it too!!!


Happy Trails,

Mtn Mama

Tuesday, September 24, 2013

Fall Means time for Caramel!!


Salted Caramel Sauce

How can something that is really "Burnt Sugar" taste so incredibly wonderful.  To me Caramel says....Fall!!!  Caramel apples, caramel sauce over apple pie and apple dumplings, caramel brownies....the list is endless.  I think you could take a bath in the stuff and be in heaven!!  So last year we made caramel the easy way in the crock pot with a can of sweetened condensed milk.  You can find that method here.  But as with life we need to keep exploring and moving up the ladder so today we will make the real deal on the stove. It is not hard but does require that you have everything prepared and ready to go before you start.  You must have a candy thermometer if you are a novice.  Later you can show your skills without it but now you must have it.  You can get a good instant read thermometer at WalMart for about $12 dollars.  WORTH IT!
Let's begin....DO NOT BE AFRAID!!!  If you burn a batch it is OK!!!  In order to be a great cook you have to burn a little sugar sometimes!!

Here we go.....

Ingredients:
2 cups sugar
12 TBSP butter , at room temperature, cut into pieces
1 cup heavy cream, at room temperature
1 TBSP Fleur de Sel or your favorite Sea Salt

Directions:


l.  Add the sugar in an even layer over the bottom of a heavy saucepan.  I have a copper pot that I always use to make candy in because the bottom is very heavy.  It must be at least 2 or 3 quarts to prevent boiling over spillage!!  UGHH!


2. Heat sugar over medium-high heat.  Whisk the sugar as it begins to melt.  You will see the sugar begin to form clumps, that's okay.  Just keep whisking and as it continues to cook, they will melt down.


 3.  Stop whisking once the sugar has completely melted and swirl the pan occasionally while the sugar cooks.

4.  Continue cooking until the sugar has reached a deep amber color.  It should look almost a reddish-brown, and have a slight toasted aroma.  This is the point where the caramel can go from perfect to burnt in a matter of seconds, so keep a close eye.  If you are using an instant read thermometer, cook the sugar until it reaches 350 degrees.

I used my "old school" thermometer for this batch but went out and bought an instant read that day at WalMart.  Se the reddish brown color on the right...perfect.

5.  As soon as the caramel comes to 350 degrees, add the butter all at once.


Be careful, the caramel will bubble up when the butter is added.  Whisk the butter into the caramel until it is completely melted.

6.  Remove the pan from the heat and slowly pour the cream into the caramel.  Again this will cause the mixture to bubble up ferociously.


7.  Whisk until all of the cream is incorporated and you have a smooth sauce. 


8.  Add the fleur de sel and whisk to incorporate.


9.  Set the sauce aside to cool for 10 to 15 minutes.  Pour into your favorite container and let cool to room temperature.  You can refrigerate sauce for up to two weeks.  Warm sauce up before using.


Perfect Caramel Sauce.....tomorrow we will apply what we have learn and make the best Almond Thumprint Salted Caramel Cookies you have ever eaten!!!  Till then...................


Salted Caramel Sauce


Ingredients:
2 cups sugar
12 TBSP butter , at room temperature, cut into pieces
1 cup heavy cream, at room temperature
1 TBSP Fleur de Sel or your favorite Sea Salt

Directions:

l.  Add the sugar in an even layer over the bottom of a heavy saucepan.  I have a copper pot that I always use to make candy in because the bottom is very heavy.  It must be at least 2 or 3 quarts to prevent boiling over spillage!!  UGHH

2. Heat sugar over medium-high heat.  Whisk the sugar as it begins to melt.  You will see the sugar begin to form clumps, that's okay.  Just keep whisking and as it continues to cook, they will melt down.
3.  Stop whisking once the sugar has completely melted and swirl the pan occasionally while the sugar cooks.
4.  Continue cooking until the sugar has reached a deep amber color.  It should look almost a reddish-brown, and have a slight toasted aroma.  This is the point where the caramel can go from perfect to burnt in a matter of seconds, so keep a close eye.  If you are using an instant read thermometer, cook the sugar until it reaches 350 degrees.

5.  As soon as the caramel comes to 350 degrees, add the butter all at once.
6.  Remove the pan from the heat and slowly pour the cream into the caramel.  Again this will cause the mixture to bubble up ferociously.
7.  Whisk until all of the cream is incorporated and you have a smooth sauce. 
8.  Add the fleur de sel and whisk to incorporate.
9.  Set the sauce aside to cool for 10 to 15 minutes.  Pour into your favorite container and let cool to room temperature.  You can refrigerate sauce for up to two weeks.  Warm sauce up before using.


Happy Trails,

Mtn Mama

Monday, September 23, 2013

The Ultimate Chocolate Cake!!


This is the best blast of chocolate this side of the Mississippi.  I have made a lot of Texas Sheet cakes in my life but this one moves to the top of the list!!  The chocolate cake is rich, deep and moist...with a twinge of saltyness.  The top is gooey marshmallow, fudgy icing and toasted pecans!!!  Lip smacking good!!   Call it PMS food, chocolate lovers fantasy....anything you want to call it but call it GOOD!!!!   I made this for my weekend retreat and I had ladies getting up at 1:15 in the morning and sneaking down to the kitchen for another piece.  That is LOVE!!!!

Here goes...now you can wow all your friends!!! This cake can be cut and served as a bar.  It is easily eaten without utensils   Make it for this weeks tailgate soiree....I promise EVERYONE will love you!

Mississippi Mud Cake

Preheat oven to 350 degrees


Ingredients:


1 cup chopped pecans
1 cup butter
4 ounces semisweet chocolate baking bar, chopped.  I used 70% cocoa Lindt chocolate bars and it was fantastic
2 cups sugar
1 1/2 cups flour
1/2 cup unsweetened cocoa ( I used Hershey's Dark Cocoa)
4 large eggs
1 tsp vanilla extract
3/4 tsp salt
1 (10.5 ounce) bag mini-marshmallows
Chocolate Frosting (Recipe below)


1.  Place pecans in a single layer on a baking sheet.


2.  Bake at 350 degrees for 8-10 minutes until toasted


3.  Microwave 1 cup butter and chocolate in a large microwave-safe bowl at High 1 minute or until melted and smooth, stirring every 30 seconds.


4.  Whisk sugar, flour,cocoa and salt together.


5.  Pour chocolate mixture into dry mixture and whisk together until smooth.


6.  Whisk in the eggs one at a time.  Add vanilla.


7.  Pour batter into greased 15 x 10 inch jelly roll pan.


8.  Bake at 350 degrees for 20 minutes.  Remove from oven.  Sprinkle evenly with mini marshmallow.  Bake 8-10 minutes or until marshmallows brown.


9.  Drizzle warm cake with Chocolate Frosting.


Chocolate Frosting

Ingredients:
1/2 cup butter
1/3 cup unsweetened cocoa
1/3 cup milk
1 (16 ounce) pkg powdered sugar
1 tsp vanilla

1.  Stir together the first three ingredients into a saucepan over medium heat until butter is melted. 


2.  Cook, stirring constantly 2 minutes or until slightly thickened; remove from heat.

3.  Beat in powdered sugar and vanilla at medium speed with an electric mixture until smooth.


Top with toasted pecans!


Cut into squares and dig in!!!  Believe me you will!!


Mississippi Mud Cake

Preheat oven to 350 degrees

Ingredients:
1 cup chopped pecans
1 cup butter
4 ounces semisweet chocolate baking bar, chopped.  I used 70% cocoa Lindt chocolate bars and it was fantastic
2 cups sugar
1 1/2 cups flour
1/2 cup unsweetened cocoa ( I used Hershey's Dark Cocoa)
4 large eggs
1 tsp vanilla extract
3/4 tsp salt
1 (10.5 ounce) bag mini-marshmallows
Chocolate Frosting (Recipe below)

1.  Place pecans in a single layer on a baking sheet.
2.  Bake at 350 degrees for 8-10 minutes until toasted
3.  Microwave 1 cup butter and chocolate in a large microwave-safe bowl at High 1 minute or until melted and smooth, stirring every 30 seconds.
4.  Whisk sugar, flour,cocoa and salt together.
5.  Pour chocolate mixture into dry mixture and whisk together until smooth.
6.  Whisk in the eggs one at a time.  Add vanilla.
7.  Pour batter into greased 15 x 10 inch jelly roll pan.
8.  Bake at 350 degrees for 20 minutes.  Remove from oven.  Sprinkle evenly with mini marshmallow.  Bake 8-10 minutes or until marshmallows brown.
9.  Drizzle warm cake with Chocolate Frosting.

Chocolate Frosting

Ingredients:
1/2 cup butter
1/3 cup unsweetened cocoa
1/3 cup milk
1 (16 ounce) pkg powdered sugar
1 tsp vanilla

1.  Stir together the first three ingredients into a saucepan over medium heat until butter is melted. 
2.  Cook, stirring constantly 2 minutes or until slightly thickened; remove from heat.
3.  Beat in powdered sugar and vanilla at medium speed with an electric mixture until smooth.
Top with toasted pecans!

Happy Trails,

Mtn Mama

Sunday, September 22, 2013

Embroidered Tea Towels, Apple Pie and 80's Memories!!

SUNDAY STASH REPORT - WEEK 38

Total Yards Used this Week:  3 1/2 yards

Added this Week: 5 yards

Used year to Date: 79 3/4 yards

Added Year to Date: 28 3/4 yards

Net Stash Decrease for 2013: 51  yards


I hope to improve these number this week.  I started out great in January- April but have not continued to "Decrease" my stash as I had planned this year!!! I do have projects stacked on my table in hopes of completing them.  This is a quilt I must finish before Oct 10th as it is a donation quilt for an auction for Tulsa Safe Kids.  It now moves to the top of the project list. Best laid plans.......


 Oh well....on to the projects I completed this week:


I made this set of tea towels for a dear friend's birthday.  The fabric was perfect for her "Bunk House".  It is a yellow ticking. 
I did the embroidery with new designs from Embroidery Library.   The stitches are gorgeous up close.


The red ticking towel is for another friend's birthday.  I love the apples.


In honor of the season and "Apples" I made my favorite apple pie this weekend.  I had a retreat with my CBS leadership.  I prepared dinner for 30 women on Friday night.  Here is the "Down Under Apple Pie" I served.  They LOVED it!!  It is my Kristy's favorite all time apple pie too!!!


Down Under Apple Pie

Preheat oven to 400 degrees.  

Prepare your favorite pie crust or use one from the freezer or dairy section of your grocery store.  Today I used a frozen crust because I wanted it to be in a disposable pan that I didn't have to keep track of at the retreat!!

Pie Filling:

1.  Peel, core and slice 6 cups of apples.

2.  Toss apples with:


1 cup sugar
1/8 tsp ground cloves
1 tsp lemon juice
1/8 tsp salt
2 TBSP flour
1 tsp cinnamon


3.  Pour the apples into your already prepared pie crust.


4.  Now for the secret ingredient:

Extra sharp or sharp cheddar cheese. 


5.  Grate 1 cup of the cheese.


6.  Melt 1/2 stick of butter (1/4 cup)


7.  Combine cheese and butter with:

1/2 cup flour
1/4 cup sugar
1/8 tsp salt


Combine this mixture with clean hands until it forms a crumbly dough consistency.


8.  Top the apples with the above mixture by mounding it with your hands being sure to cover the entire surface of the pie.


9.  Bake at 400 degrees for 40 minutes until the pie is browned and bubble.  I always bake mine on a sheet pan as it tends to bubble over.  A sheet pan is easier to clean than an oven.


Down Under Apple Pie

Preheat oven to 400 degrees.  

Prepare your favorite pie crust or use one from the freezer or dairy section of your grocery store.  Today I used a frozen crust because I wanted it to be in a disposable pan that I didn't have to keep track of at the retreat!!

Pie Filling:

1.  Peel, core and slice 6 cups of apples.

2.  Toss apples with:
1 cup sugar
1/8 tsp ground cloves
1 tsp lemon juice
1/8 tsp salt
2 TBSP flour
1 tsp cinnamon

3.  Pour the apples into your already prepared pie crust.


4.  Now for the secret ingredient:
Extra sharp or sharp cheddar cheese. 

5.  Grate 1 cup of the cheese.

6.  Melt 1/2 stick of butter (1/4 cup)


7.  Combine cheese and butter with:

1/2 cup flour
1/4 cup sugar
1/8 tsp salt
Combine this mixture with clean hands until it forms a crumbly dough consistency.

8.  Top the apples with the above mixture by mounding it with your hands being sure to cover the entire surface of the pie.

9.  Bake at 400 degrees for 40 minutes until the pie is browned and bubble.  I always bake mine on a sheet pan as it tends to bubble over.  A sheet pan is easier to clean than an oven.

( I place the whole recipe at the bottom of my blog so you can copy and paste it to a word document and print it without all the pictures attached   I am going to try to find someone to help me with the blog so you can print it directly from here but since I do this for fun and not for profit I will have to wait till someone volunteers or shows me how to do it!!!!)

I have been making this pie since 1984 when I lived on a Navy base at China Lake Navel Weapons Center in Ridgecrest, CA.  I was a young mom with two little girls and Jeff was a GMO (General Medical Officer) at the clinic on base.  My neighbor, Pat Hoagland, whose husband was a Navel Aviator and lived across the street, shared it with me.  Such a fun time living on base.  We met so many good people in those years.  Many of them lifelong friends. 
Thanks Pat!!!!   This pie always reminds me of you and John!!

I will also be linking up with DIY Home here, so hop over and join the fun!!

Happy Trails,

Mtn Mama