MTNMAMA

MTNMAMA
The original MTNMAMA

Friday, December 23, 2016

Packing and Delivering the Cookies


My favorite part of Christmas Cooking is packing and giving the cookie trays to friends and families.

Our tradition is to make beautiful trays with an assortment of all our old standby favorites plus a few "new" recipes soon to become favorites each year. Each tray is a sampling of all the cookies we bake during December. We always have peanut butter kisses, peanut butter temptations, spritz, and chocolate mint cookies. This year we made new recipes for red velvet thumbprints with cream cheese frosting and coconut macaroons dipped in chocolate. We always make cutout sugar cookies. Having KK decorate them makes them very special. Yum, Yum!!!

KK is very intent when she decorates the cookies.

I don't think she is pleased with her work...LOL!!

Silver Snowflakes

Happy Snow Folks

Christmas Ornaments and Trees

Christmas Cookie Trays ready to be delivered!!

Ready for Santa's Sleigh!!


Happy Trails,

MTN Mama


Thursday, December 22, 2016

Christmas Cookie Time

The smell of cookies fill the air as we approach the final countdown to Christmas here in T-Town.

The "Tulsa Cookie Doctor" ...aka... my daughter Kristy spends hours on these beautiful cookies that we give away. Lots of tubes, tips, sugar and detail round out these cutout sugar cookies.

Iced Spiced Cookies are a favorite recipe given to me by a dear friend in Lancaster, PA over 25 years ago. They are a perfect blend of spices and a great texture. Not too hard!!

Lacey Snowflakes.....which we actually had over the weekend in Tulsa!!! It was magical!!! I love the snow but many of my friends don't share the sentiment!!

Jenny, my oldest daughter and mama to my three grands, hosted a cinnamon roll baking day (twice) at her house in the past two weeks. We had to bake twice because the first double batch ( 7 1/2 dozen rolls) disappeared in three days. They were grabbed by neighbors and friends before they even cooled.

Miss Ella is going to be a fine baker someday....now she is a BIT (Baker in Training) and the big sister to TJ and Madison!! Quite a job!!

Merry Christmas from all of us at Pots, Pans, Pins and Prayers

May your Pots and Pans always be full with wonderful delights, your pins holding a project together that you can't wait to finish and your Prayers be answered by the One True God who loves us and sent the Baby Jesus to earth so that we could believe in Him and live eternally with the Father!!

Happy Trails,

MTN MAMA


Monday, August 8, 2016

Puff Pastry Berry Tart


It's summer and that means it is HOT in OK so..... Something creamy, cool and fresh is always welcome on the dessert menu.

I love puff pastry. It is so easy and the results are always perfect. Now....I don't actually make the puff pastry....maybe someday I will try but right now I just don't have the time or desire when Pepperidge Farm does such a good job and allows me the ability to use it and use my time to concentrate on things like the filling or topping.

To start you should place the frozen pastry on the counter is start defrosting. I would say about 15 minutes in OK. You don't want the pastry thawed just pliable enough to roll out a bit. Take one sheet out of the package to use for this tart. You can put the other sheet in a plastic bag and back in the freezer for another wonderful creation...or double the recipe and make two tarts....That's what I did!!! One for us and one to give away!!!

So get your handy baking mat, rolling pin, sheet pan with silicone mat, pastry brush and extra flour. Preheat the oven to 425 degrees. You are on your way!

Roll the pastry sheet to 10 by 12 inches. Then using water and the pastry brush, brush the perimeter edges and fold over about an inch. This makes a side edge to hold the filling in the baked pastry. Dock the interior with a fork.....just prick it all over ....have fun!!

Make an egg wash ( lightly beaten egg with 1 Tbsp water) and brush the entire surface of the pastry. Then sprinkle with a coarse sugar, about 2 Tbsp.


Place in preheated oven and set the timer for 15 minutes. It can take up to 20 but watch carefully till the pastry is puffed and golden brown. Then quickly get it out of that hot oven....don't want to burn it!! The center may be puffed. You can take the back of a spoon and gently press the pastry down to make a perfectly smooth center. Isn't that just beautiful. Cool pastry completely before filling.


I used Pastry Cream to fill my tart. You can find many good tutorials and videos on line for your recipe. The one I used came from King Arthur Flour.


Pastry Cream

Ingredients:

  • 3 cups whole milk
  • 1/2 cup sugar
  • 1/4 teaspoon salt
  • 2 teaspoons vanilla extract or Vanilla Crush; or 1/2 vanilla bean, slit lengthwise
  • 1/4 cup cornstarch
  • 1 tablespoon King Arthur Unbleached All-Purpose Flour
  • 4 large egg yolks
  • 1/4 cup (1/2 stick) butter
  • 1 cup heavy cream, whipped to soft peaks

Instructions

  1. In a medium-sized saucepan, stir together 2 1/2 cups of the milk, the sugar, salt, and the vanilla bean. (If you're using vanilla extract or Vanilla Crush, add it at the end.) Bring to a simmer over medium heat, stirring to dissolve the sugar.
  2. Meanwhile, whisk the cornstarch, flour, and egg yolks with the remaining 1/2 cup milk.
  3. Whisk some of the hot milk mixture with the egg yolks to temper them. This keeps the yolks from turning to scrambled eggs when you add them to the simmering milk.
  4. Pour the egg/milk mixture back into the remaining simmering milk. Doing this through a strainer will help prevent lumps later. Bring to a boil, stirring constantly with a whisk, until the mixture thickens.
  5. Remove from the heat and strain through a fine sieve. Stir in the butter and vanilla extract (if you're using it). If you're going to flavor the pastry cream with chocolate or some other flavor, this is the time to do it (see variations below).
  6. Rub a piece of butter over the surface of the cream, top with a piece of plastic wrap (make sure it touches the top of the pastry cream so it doesn't develop a skin), then refrigerate until cool.
  7. To complete, fold the whipped cream into the cooled pastry cream.
  8. If you want the pastry cream to be for a pie do not add the whipped cream.

  9. This recipe works well and is enough for two tarts. I put just a little of the whipped cream into my cream pat to make it softer but still stiff enough to stay when I cut the tart!!


  1. Spread the cooled pastry cream into the cooled pastry. Top with your choice of fresh fruit. I used raspberries and blueberries. Take 1/2 cup of raspberry jam and heat in microwave for 30 second till the jam is thinner. Drizzle over the top of the tart randomly. I needed to transport the tart so I used a great aluminum pan with a clear plastic lid from the Dollar Store. Worked perfect!!!


  1. Puff Pastry Berry Tart
  2. 1 sheet of Pepperidge Farm Pastry
  3. 1 recipe of Cream Pastry (see recipe above) or pudding of your choice
  4. Fresh Fruit of your choice ( about 2 Half pints work well)
  5. 1/2 cup Raspberry Jam

Preheat oven to 425 Degree.

1. Flour a baking mat or board and place the semi-thawed puff pastry sheet in the middle

2. Roll the sheet till it measures 10x12 inches in size

2. Take a pastry brush and water and brush around all the edges of the pastry.

3. Fold edges about 1 inch into the pastry forming the ridge around the sides to hold the filling in the tart.

4. Lighty beat 1 egg with 1 Tbsp water and brush the entire pastry.

5. Fork or Dock the entire inside surface of the pastry.

6. Sprinkle with 2 Tbsp coarse sanding or turbinado sugar.

7. Place in the preheated oven and set for 15 minutes. Watch carefully...Nobody wants a burnt tart. If the middle of the tart is puffed when done gently take the back of a spoon and push the air out of the middle. It should lay down perfectly!!

8. While the tart is baking prepare the pastry cream or you can use any filling of your choice. If you are in a pinch use a pudding mix. Nobody will tell.

9. Spread the cooled pastry tart with the filling.

10. Cover with fresh fruit.

11. Heat the raspberry jam and drizzle over the top of the tart.

Refrigerate till serving!!

Hope you enjoy this summertime treat!!


Happy Trails,


Mtn Mama


Friday, August 5, 2016

Me Oh My.....Fresh Georgia Peach Pie!!


So don't ask me why but I have become obsessed with baking the perfect pie. I want the perfect crust and filling which together will make people swoon and come back begging for more!!! YES.....I am obsessed.

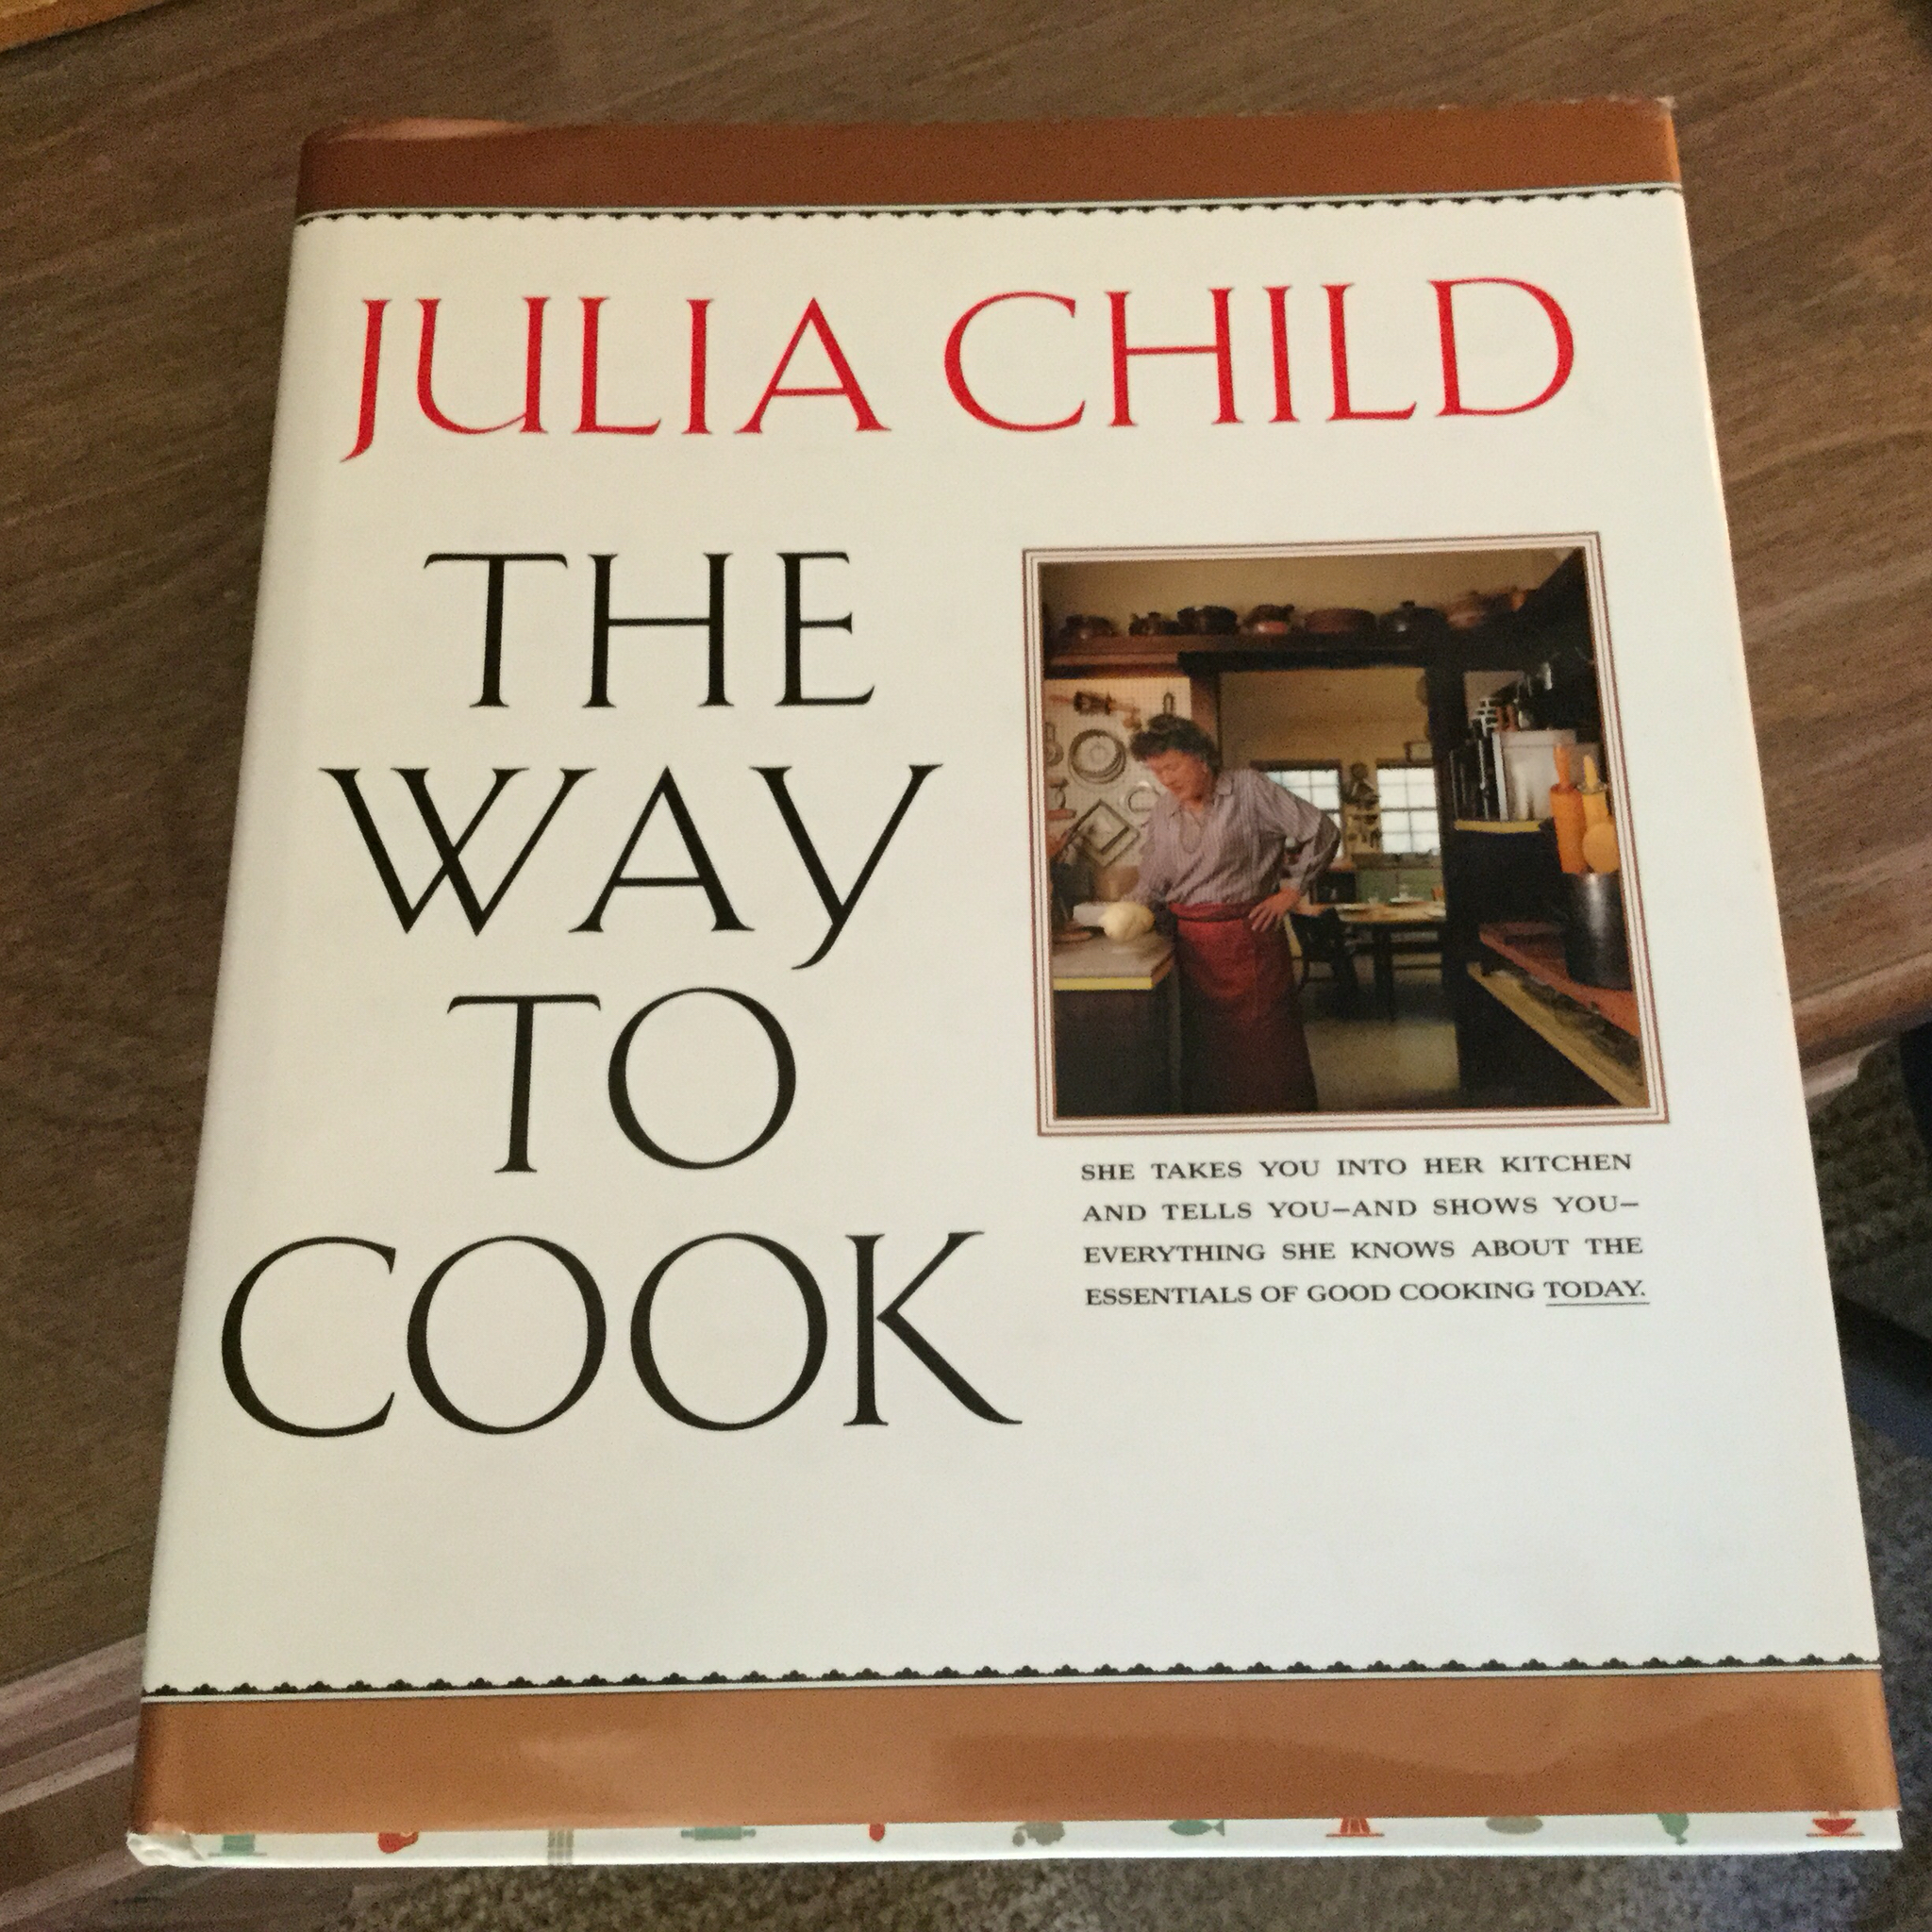
For years I have used the Barefoot Contessa's pie crust. It is easy to make handles well and tastes good. Recently I began reading pie crust recipes and went back to my Julia Child's cookbook to review her advice on what makes a great pie crust.

She was very specific on these points:

1. Flour - 1 part Cake Flour to 3 parts All purpose flour

2. Shortening - I part Vegetable shortening to 3 part butter

3. Chilling - Freshly made dough MUST be chilled at least 2 hours. This allows the flour particles to absorb the liquid as well as firm the butters and relax the gluten.

4. Desert crust - add 1/4 tsp salt and 2 Tbsp sugar

5. PreBake - 450 degrees for 15 minutes. Use enough beans to support the sides. Bake until bottom is firm but soft. Remove the beans (should be placed in crust in parchment paper or foil). Prick crust again and bake a few minutes till just beginning to color.

I am sure this is all very valuable information which I am trying to incorporate into my "Perfect Crust". I looked at the Pioneer Woman's Crust, Paula Deen's Perfect Crust and the tried and true Barefoot Contessa's Perfect Pie Crust. None of them had all of Julia's requirements but they all had some of them.

The Pioneer Woman's crust had the most different ingredients because it used egg and vinegar and has to be frozen for a time. I made it just as she instructs because I remember my mother making pie crusts with egg and vinegar. I also have an old (30+ years) written copy of a Candian pie crust that was given to me by a dear friend that is very similar. So off we go with the testing.....this should be fun!!


Perfect Pie Crust

3 cups all purpose four

1 tsp salt

1 1/2 cups vegetable shortening ( I only use Crisco ....but I did use Butter Flavored Crisco this time)

1 egg

5 Tbsp cold water

1 Tbsp vinegar

Combine Flour and salt.

Add in Shortening using pastry cutter. Work shortening into the flour until you have tiny pea like pebbles throughout the mixture. It takes 2-3 minutes.

Lightly Beat the egg with the fork then add to the mixture. Add cold water and vinegar. NOW mix together just until combined. Do NOT over mix.

Place half the mixture in a ziplock bag (gallon size) and use a rolling pin to flatten. Do the same with the other half. If you want you can divide this recipe into thirds for three crusts but I like a deep dish crust so I divide it into 2 halves.

Now FREEZE the dough.....yes if only for 20 minutes you must freeze it.

Then remove dough onto a floured board or surface.

Roll from center outward using enough flour to keep the crust moving. It may take a little time. Be gentle to your dough.

I roll my crust over the rolling pin to move it to the pan but you can use a large spatula if you like also.

Work the crust into the pan gently with your hands. Trim or tuck under and crimp the edges. Martha Stewart once said on her baking show that we all crimp the way our mother's taught us (at least if you are over 50). I do crimp just like my mother did!! BUT on this crust I trimmed the edges closely and made a decorative crust with cutout flowers.

I followed a recipe from a magazine that I picked up while in the checkout line at Whole Foods. They always get Me!!!

Georgia Peach Pie

3 lbs fresh peaches ( I got mine from Trader Joe's and they were from California!!! Delicious though!!!). Peel, Pitt and slice

1 cup plus 2 Tbsp sugar (divided)

1 lemon, zest end and juiced

1/2 tsp salt

1 Tbsp Cornstarch

2 Tbsp low-sugar Fruit pectin

1 tsp grated fresh nutmeg

1 vanilla bean split, seeds scraped and reserved

Browned Butter Pecan Strueusel (recipe below)

Method:

1. In large bowl toss together peaches, 1 cup sugar, lemon zest, lemon juice and salt. Let stand for 30 minutes

2. Roll dough and place into pie plate. Decorate edges with cutouts. Freeze for 30 minutes.

3. Transfer 1 cup peach mixture to a small bowl, and mash with a fork. You are making a "purée" for the filling. Strain remaining peaches through a colander into another large bowl. Reserve 1/2 cup peach liquid; discard rest.

Return drained peaches to large bowl and toss with cornstarch.

4. Preheat oven to 400 degrees. In small skillet whisk together reserved 1/2 cup peach liquid, pectin, nutmeg, vanilla bean seeds and 2 tbsp sugar. Cook over medium heat until peach in is dissolved and mixture slightly thickened about 3-4 minutes.

5. Toss together peach mixture and reserved 1 cup mashed peaches. Pour into crust. Drizzle over top with the pectin mixture. Top with Brown Butter Strueusel .

Brown Butter Struesel

1/4 cup butter

1/2 cup plus 1 Tbsp flour

1/3 cup toasted pecans

2 tbsp firmly packed dark brown sugar

1 tsp kosher salt

1. In small saucepan melt butter over medium heat. Cook until butter turns, a medium brown color and smell nutty. About 10 minutes. Remove from heat and cool.

2. In a medium bowl, whisk together flour, peaches, sugars, and salt. Add brown butter. Stir with wooden spoon until crumbly.


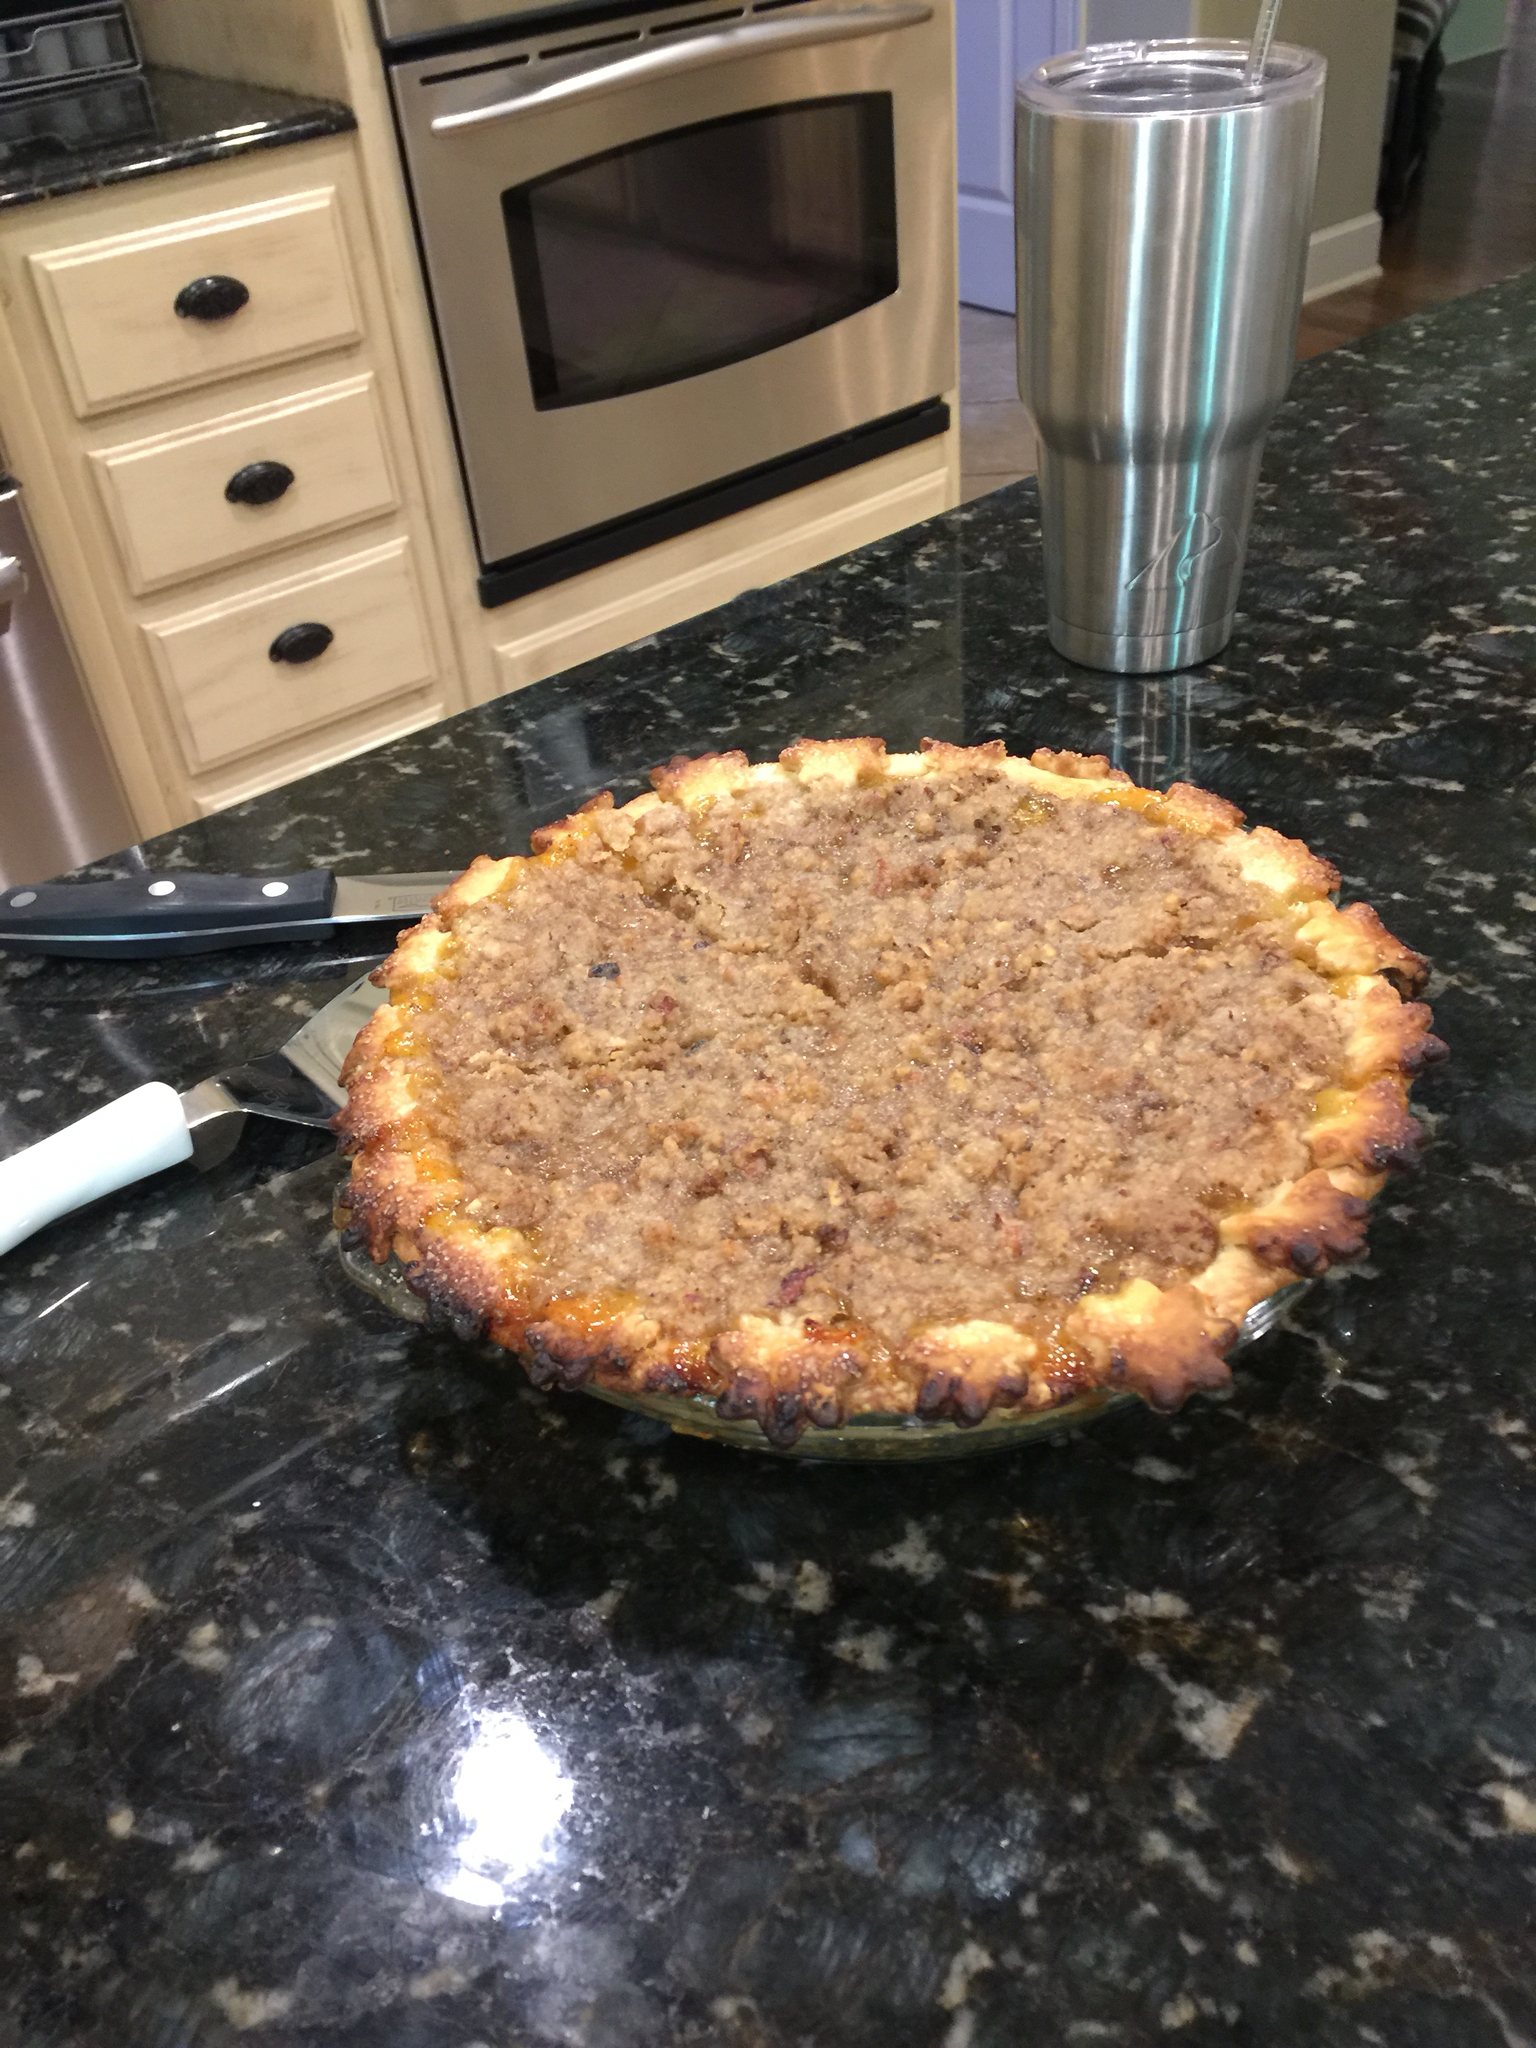
Place pie on cooking sheet and place in preheated oven. Bake for 20 minutes then reduce oven temperature to 375 degrees and cover pie loosely with foil. Bake until golden brown and bubble 30-35 minutes more.


The crust was great....flakey and yummy however I found the dough soft and somewhat hard to work with. I will be tweaking some ingredients next time I make it. YES there is going to be more pie.

As for the pie filling I found it to be a tad bit runny----great taste but not so sure I would make this filling again. At least not exactly the way I did this time.


It was all eaten and the plate was scraped clean so it was a GOOD pie just maybe not a GREAT pie that I would turn around and do again the next day!!! Let me know what you think.....give it a try!!! After all it's Peach Season and pies are always best in season!!

I will be back with more baking, cooking and quilting soon!!!

Happy Trails,

Mtn Mama


Monday, July 25, 2016

Coke Cake "Floats"

 
Coke Cupcake "Floats"

What a great treat to make this time of year when the days are long and hot....something cool and creamy that takes me back to my high school/college days when "Floats" were in and we had time to just hang out at the local Valley Bell Dairy and enjoy friends and summer!!

Cupcakes are always a winner!!! These pretty little gems both look and taste great!!


The amazing thing is they require only two ingredients:

A chocolate cake mix and 12 ounces of Coca Cola!!

I am from WV and when we say Coke it means any dark colored carbonated beverage!!! So if you drink the OTHER product (Pepsi) that is fine to use too. Ok .....so I said it outloud, I know you were thinking it too!! I am not a Coke snob!! You can also use diet if you want to cut some of the sugar!

You can make "mini" floats or regular sized cupcakes. These are the regular size. They are moist and delicious! Everyone wants one....Don't you want one right now???

What makes them so cute is the way they are presented.

Red colored cupcake cups are a must for me. It is the color of the Coke Can!! I used striped red/white or you could use dotted, solid...whatever trips your trigger but I love the red.

Then you pick your topping....I used Buttercream frosting. You can use frosting from a can, homemade frosting,whipped cream though they wouldn't be pretty after the first day when the cream starts to decompose, or you can dust with confectioners sugar.

The final accent is a maraschino cherry with a stem and a matching paper straw cut to fit the cake size!!

Coke "Float" Cupcakes

1 Chocolate Cake Mix

12 ounces of Coke (* Diet is also acceptable)

  • 1. Pre-heat oven to 350 degrees; line cupcake pans with liners---remember I used red because red is the color associated with Coca Cola but you can do whatever color you choose!!

    2. Combine cake mix and Coke in your mixer and beat on low speed for one minute. Increase speed to medium and beat for two minutes. Transfer to your prepared pans. You can use mini pans or regular size cupcake pans. Bake according to package directions.

    3. Cool cupcakes, in the pans, on a wire rack. Serve plain, dusted with confectioners' sugar or piped with frosting or whipped cream.

    4. Decorate with a beautiful Maraschino cherry that has a stem. Be sure and blot the cherry before placing it on the cupcake so that it is dry and won't run into the icing.

    5. Cut a paper straw to size and place in the topping.

    A perfect, easy, very IMPRESSIVE dessert for your summer picnics or parties. Hope you like it as much as I do!!

Happy Trails,

Mtn Mama


Thursday, July 7, 2016

Soyaki Chicken Skewers


A quick summer meal is always welcome in my cookbook.

Last night I made my version of something I had seen on a Facebook post that included several versions of skewers for the grill.

After a long day it is all about what I have in the fridg and what is on the pantry shelf.

One of my favorites is Soyaki. This comes from Trader Joe's and I use it on all types of meats.


I had boneless, skinless chicken thighs on hand so I cut the meat into bitsize pieces and covered them with this glorious marinade. It is a complete, one and done sauce.

Then I heated the grill and threaded the marinaded chicken onto skewers. If you want you could add vegetables or pineapple but I was perfectly happy with just the chicken.

I sprinkled the skewers with sesame seeds and sliced green onions.

Then we went to the grill. Grill the skewers until the poultry reaches 165 degrees internally. It took about 15 minutes on a medium hot grill.

While the chicken was grilling I sautéed fresh green beans with almonds and steamed couscous in chicken broth.

The results were fantastic.

This is going to be one of my favorite summertime suppers!!


Soyaki Chicken Skewers

Ingredient list:

1 pound boneless, skinless chicken thighs

1 bottle Soyaki ( enough to cover the meat)

Sesame Seeds

7 Green onions , white and green, slices on the bias

4 metal or bamboo skewers


1. Cut the chicken into 2 inch pieces and place in a large bowl.

2. Cover the chicken with the Soyaki. Let marinade for 30 minutes or up to 24 hours.

3. Grill on medium high heat for about 15 minutes or until the chicken reaches 165 internal temp

4. Remove and serve with couscous and a green veggie for a complete summertime meal!!

Enjoy!! I am testing pie crust recipes this week so be on the look out for PIE!!!!


Happy Trails,

Mtn Mama